
How to Calculate How Much Epoxy For Your Table
Calculating Epoxy Volume
What I am going to show you is a very easy, and very accurate way of determining almost exactly how much epoxy you are going to need for next table project. I am demonstrating on a huge 10’ long table I built a few months ago, but the exact same steps can be used to calculate any sized resin project from a cutting board to a conference table. All you have to find out is the length, width, and height. The only problem is, these tables rarely run straight. So read on to see what you need to know.
Step One
Width measurments
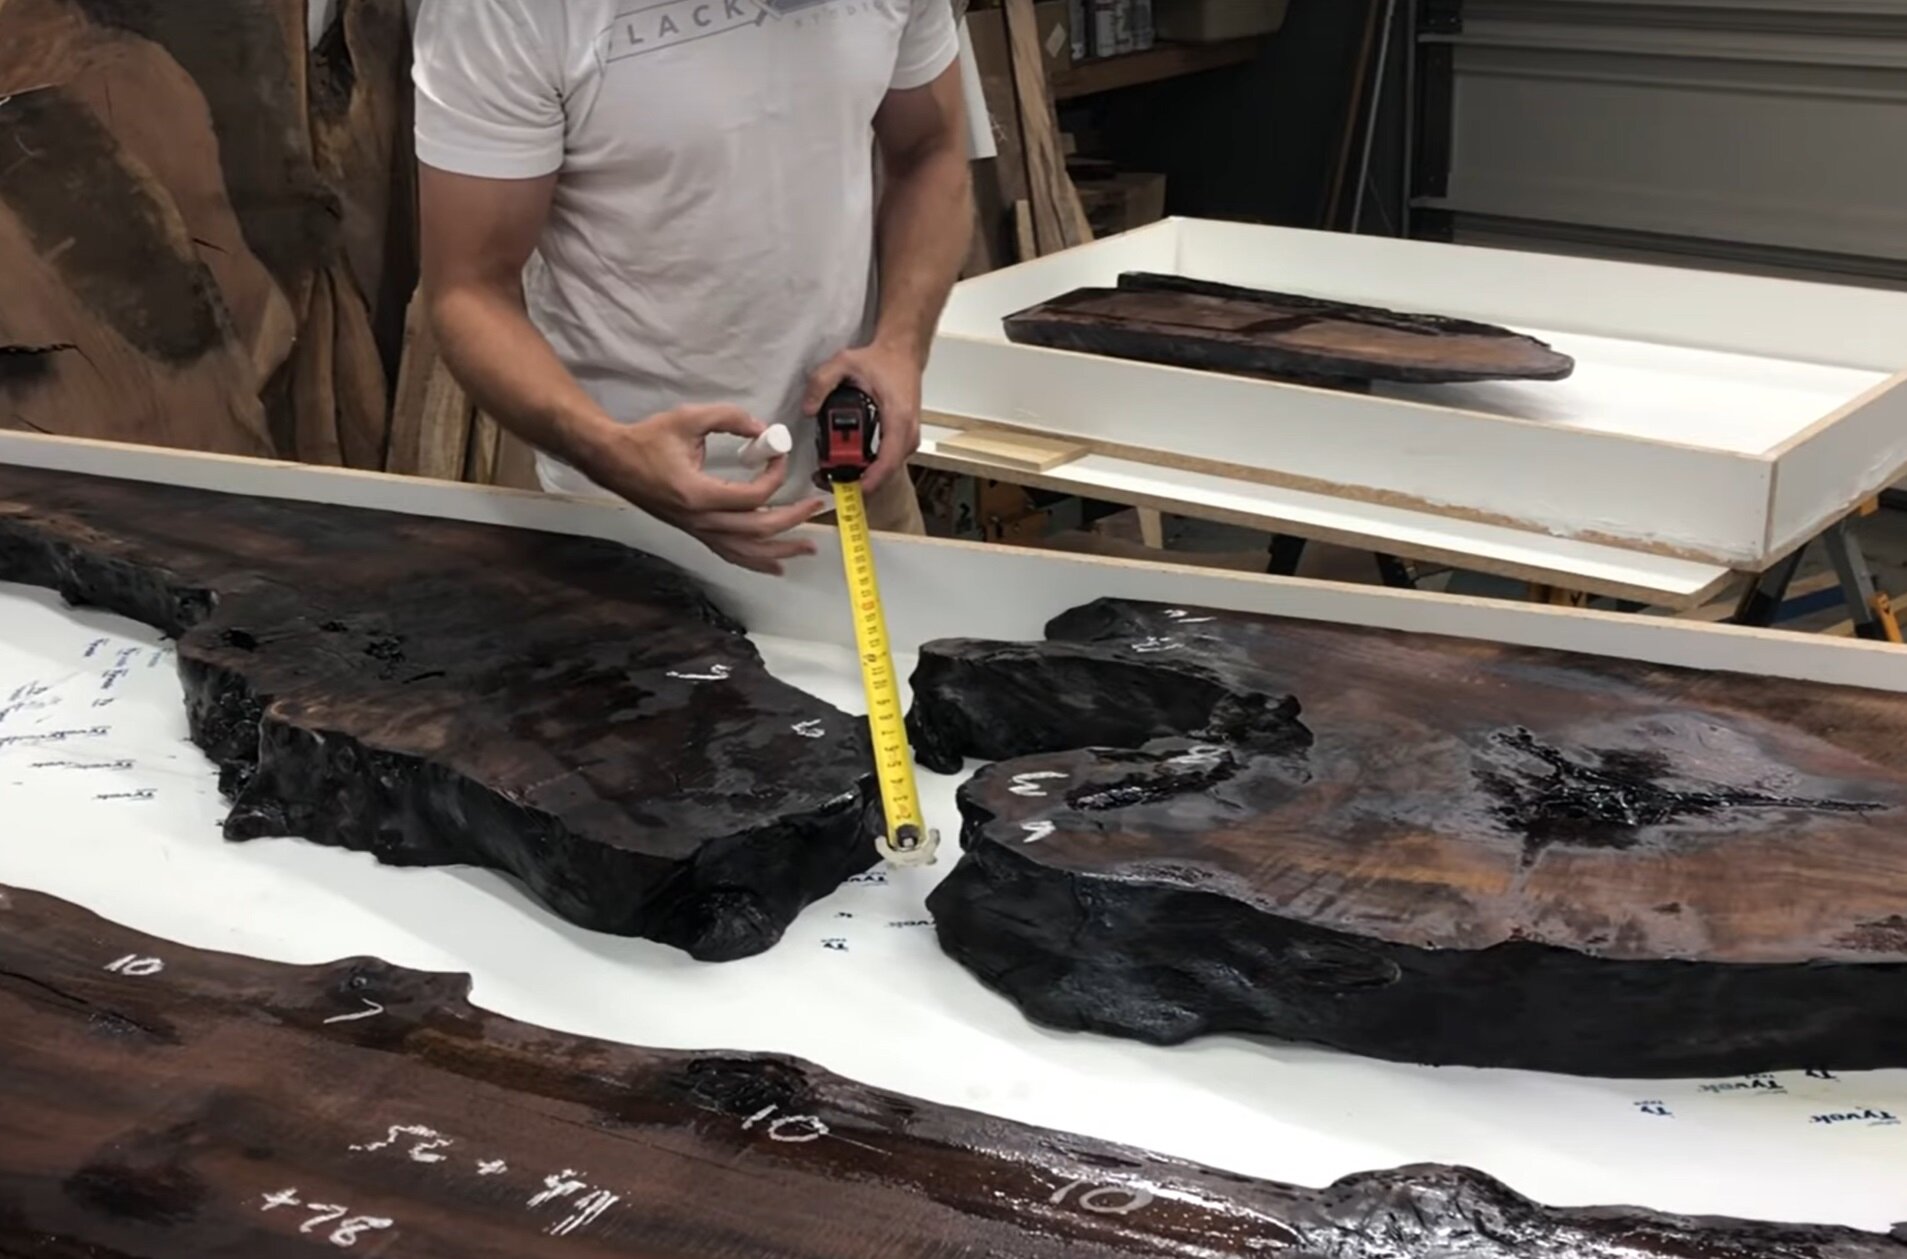
The first thing you need to do is to take width measurements down the length of your river every 6.” If you have a much smaller piece, I’d recommend every 4.” It is helpful to mark these measurements with chalk as you take them. As you work down your slabs, follow the twists and turns still making your measurements. If you have very sloped slabs, I recommend taking measurements from the top and the bottom.
Sloped sides require measurments on top and bottom
Continue taking all your measurements, don’t worry too much if it doesn’t make sense yet, or if you feel like you arent doing it correctly. Just mark all your distances in chalk for now.
Now add every number together. So if your first five distance marks are 8”, 10”, 20”, 17”, and 7” add 8+10+20+17+7. Now divide by the total number of measurments (5 in that example).
For my large table all the measurements added together was 432. And I took 35 measurements to get the 432. So I need to take 432/35 which equals 11.77”. SO the overall average width of my tables river is 11.77.” Write your number down and save it.

Step Two
Now that you have your average width, you need to find your total length. Sometimes this is as simple as the length of your table. For me, I had to measure around the twists and turns of my very unusual river.
The total length of my river(s) with all the twists and turns was 195.” Which means we have our length and our width now. And you probably remember from high school (maybe grade school for most people) to find the volume you need lengthxwidthxheight. We’ve already figured out the hard ones. So now we just need our height. Which in this case was 2.75.” You’ll want to use the thinnest slab you have if they are different thicknesses.
Step Three
Now we just need to turn our inches into liters. Thanks to this internet thing, people have done the hard math for us. Click here for a good volume calculating website. just make sure you are putting in inches, and they are giving you liters. I had one small island piece I was adding to my table that was going to take up a little volume. So I rounded down from 11.77 to an even 11” to compensate for that. So I punched in 11x195x2.75 to that calculator and got 96.7 liters.
Not done yet!
As much as I wish I we were done now, we aren’t. I used to stop at this point, but my calculations were always short. And I couldn’t figure out what I was doing wrong. Eventually I figured out I wasn’t considering the tiny bit that seeps under the slabs and around the slabs. As it turns out, it isn’t that tiny of an amount!
Step Four
I am going to calculate for an 1/8” that will seep under all the slabs. These are a little rough on the underside, if they were perfectly flat I would only calculate for 1/16.” So for that i need to use the same volume calculation, but .125 (1/8”)x125x51. Which is the size of the entire form. The results of that are 13 liters. If you are thinking 13 liters is a lot of epoxy to waste, you are absolutely correct!
Lots of people have politely suggested a number of ideas to prevent wasting this much resin. Unfortunately I kind of need to waste this much. I run these tables through a big planer, and the table needs to be flat going through. This resin flowing underneath gives me a perfectly flat base. I basically spend the money on the wasted resin to avoid having to have it CNC’d.
Still not done
One more calculation…
Step Five
Since the wood doesn’t fit perfectly into the form, there will be a little resin that seeps around the perimeter of your table. We need to add that in too. The entire perimeter of my table was 350” the height was 2.75” still and the gap is another .125.” That figures to be another 1.97 liters. Yup, another 2 wasted liters.

Walnut makes a good chalkboard
Last step!
Now we just need to add up all our numbers. We had 96+13+2, which totals 111 liters. That’s it, no more hidden calculations to make!
So how close was I?
I’d love for you to watch my video on calculating epoxy volumes. I go over the same steps with the same table I used in these examples.
In the end I used 105 liters. Which I felt was a pretty close estimate, considering how many twists and turns this table had. You don’t want to use this method to plan the exact milliliter you will end up using. What you are really trying to accomplish, in ensure you have enough epoxy to complete your project. Nothing worse than being a couple liters short of a pour you need to be as thick as possible.

My biggest epoxy table pour to date!