Use Half the Epoxy - Seamlessly Double Your Table Thickness
I frequently get messages from people who want to know how they can use less epoxy or if there is a cheaper epoxy that is just as good. Basically any way they can try and save money and still get an amazing result. As a general rule, if I know a better way I use it. But I really thought on this topic for a while and came up with a pretty good solution in the end.
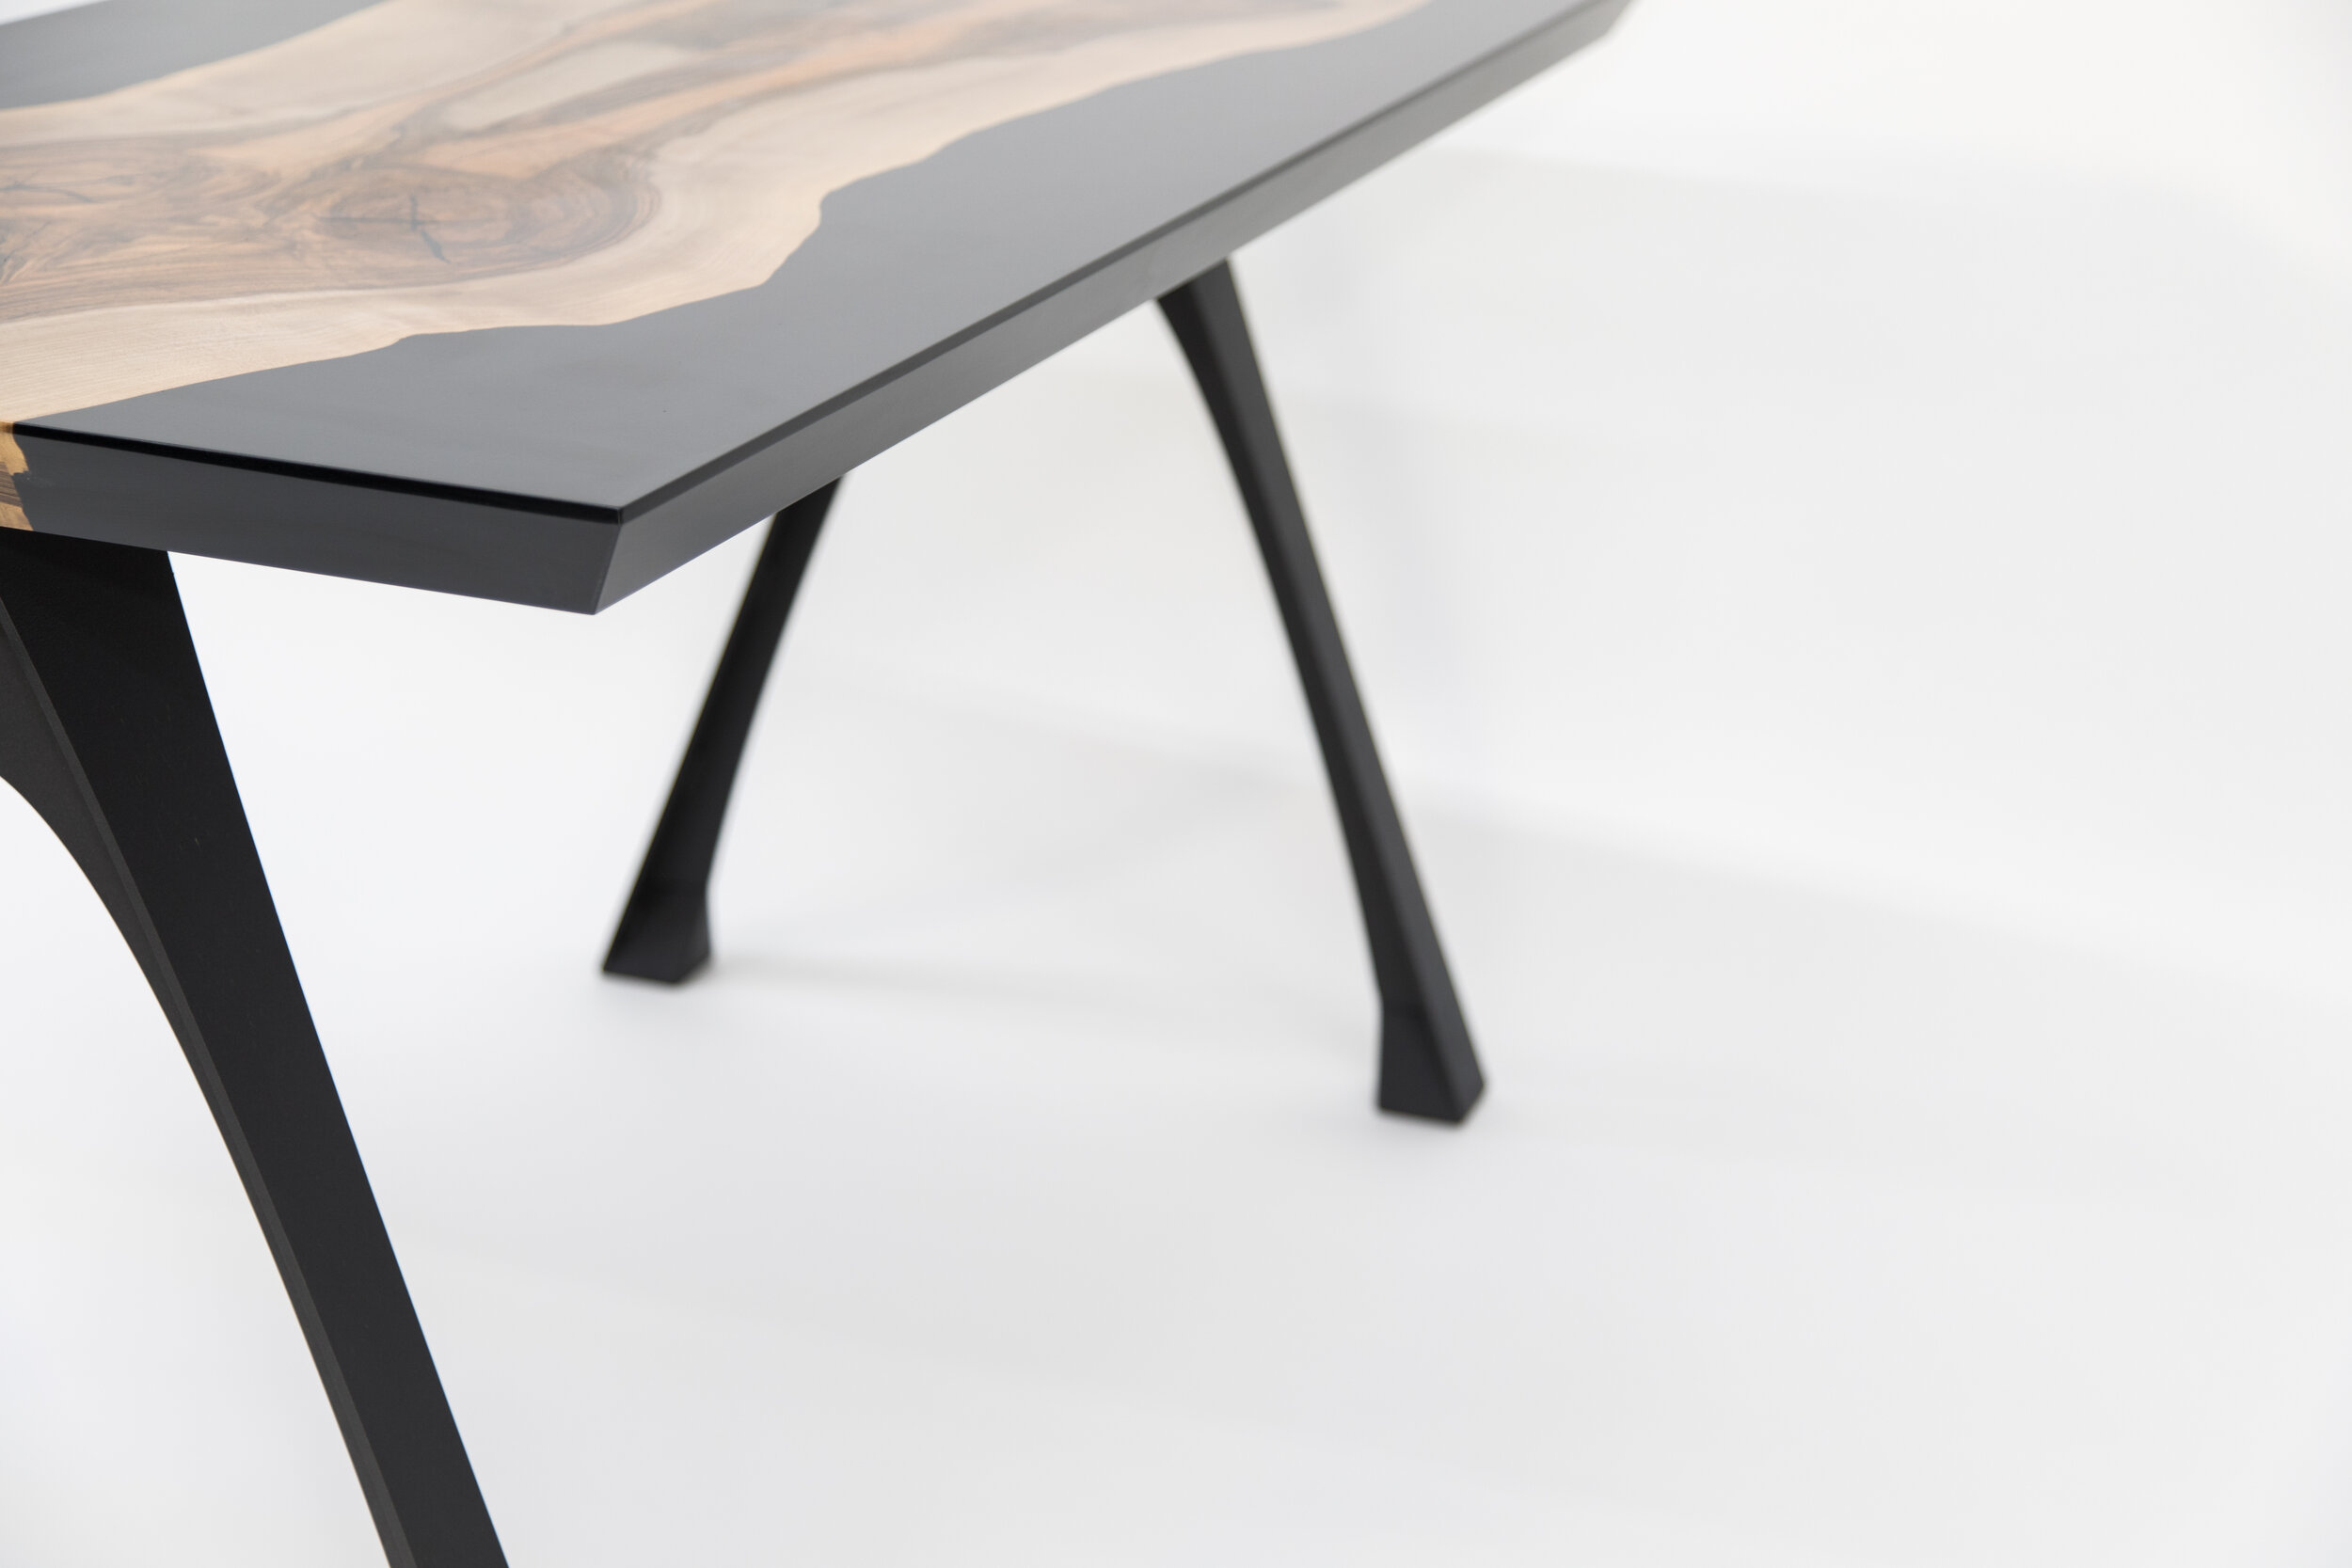
Look very close and you can see the seam.
I took my inspiration from the countertop guys. The vast majority of granite counters out there come are 2 cm (3/4”) thick. But if you look at the edge of your counter it appears much thicker. Roughly twice as thick. As I’m sure many of you know, this is because they cut a thin strip off the edges and epoxy it to the underside. Which yields a perfect color match, and doubles the thickness of your counter edge profile. This saves a ton of weight, and even more cash. So I decided to put the same principle to work and try it with an epoxy and wood table.
Planning your Epoxy project
You need to plan a little ahead if you are going to attempt this method. I cut 1.25” off all sides to use for my bull-nose. So my entire project needed to be 2.75” larger. That accounts for an edge on each side and the width of my blade for each cut (1.25+1.25+.125+.125). I wanted my table to finish at 60x30” so I needed to start with a piece at least 62.75x 32.75”.

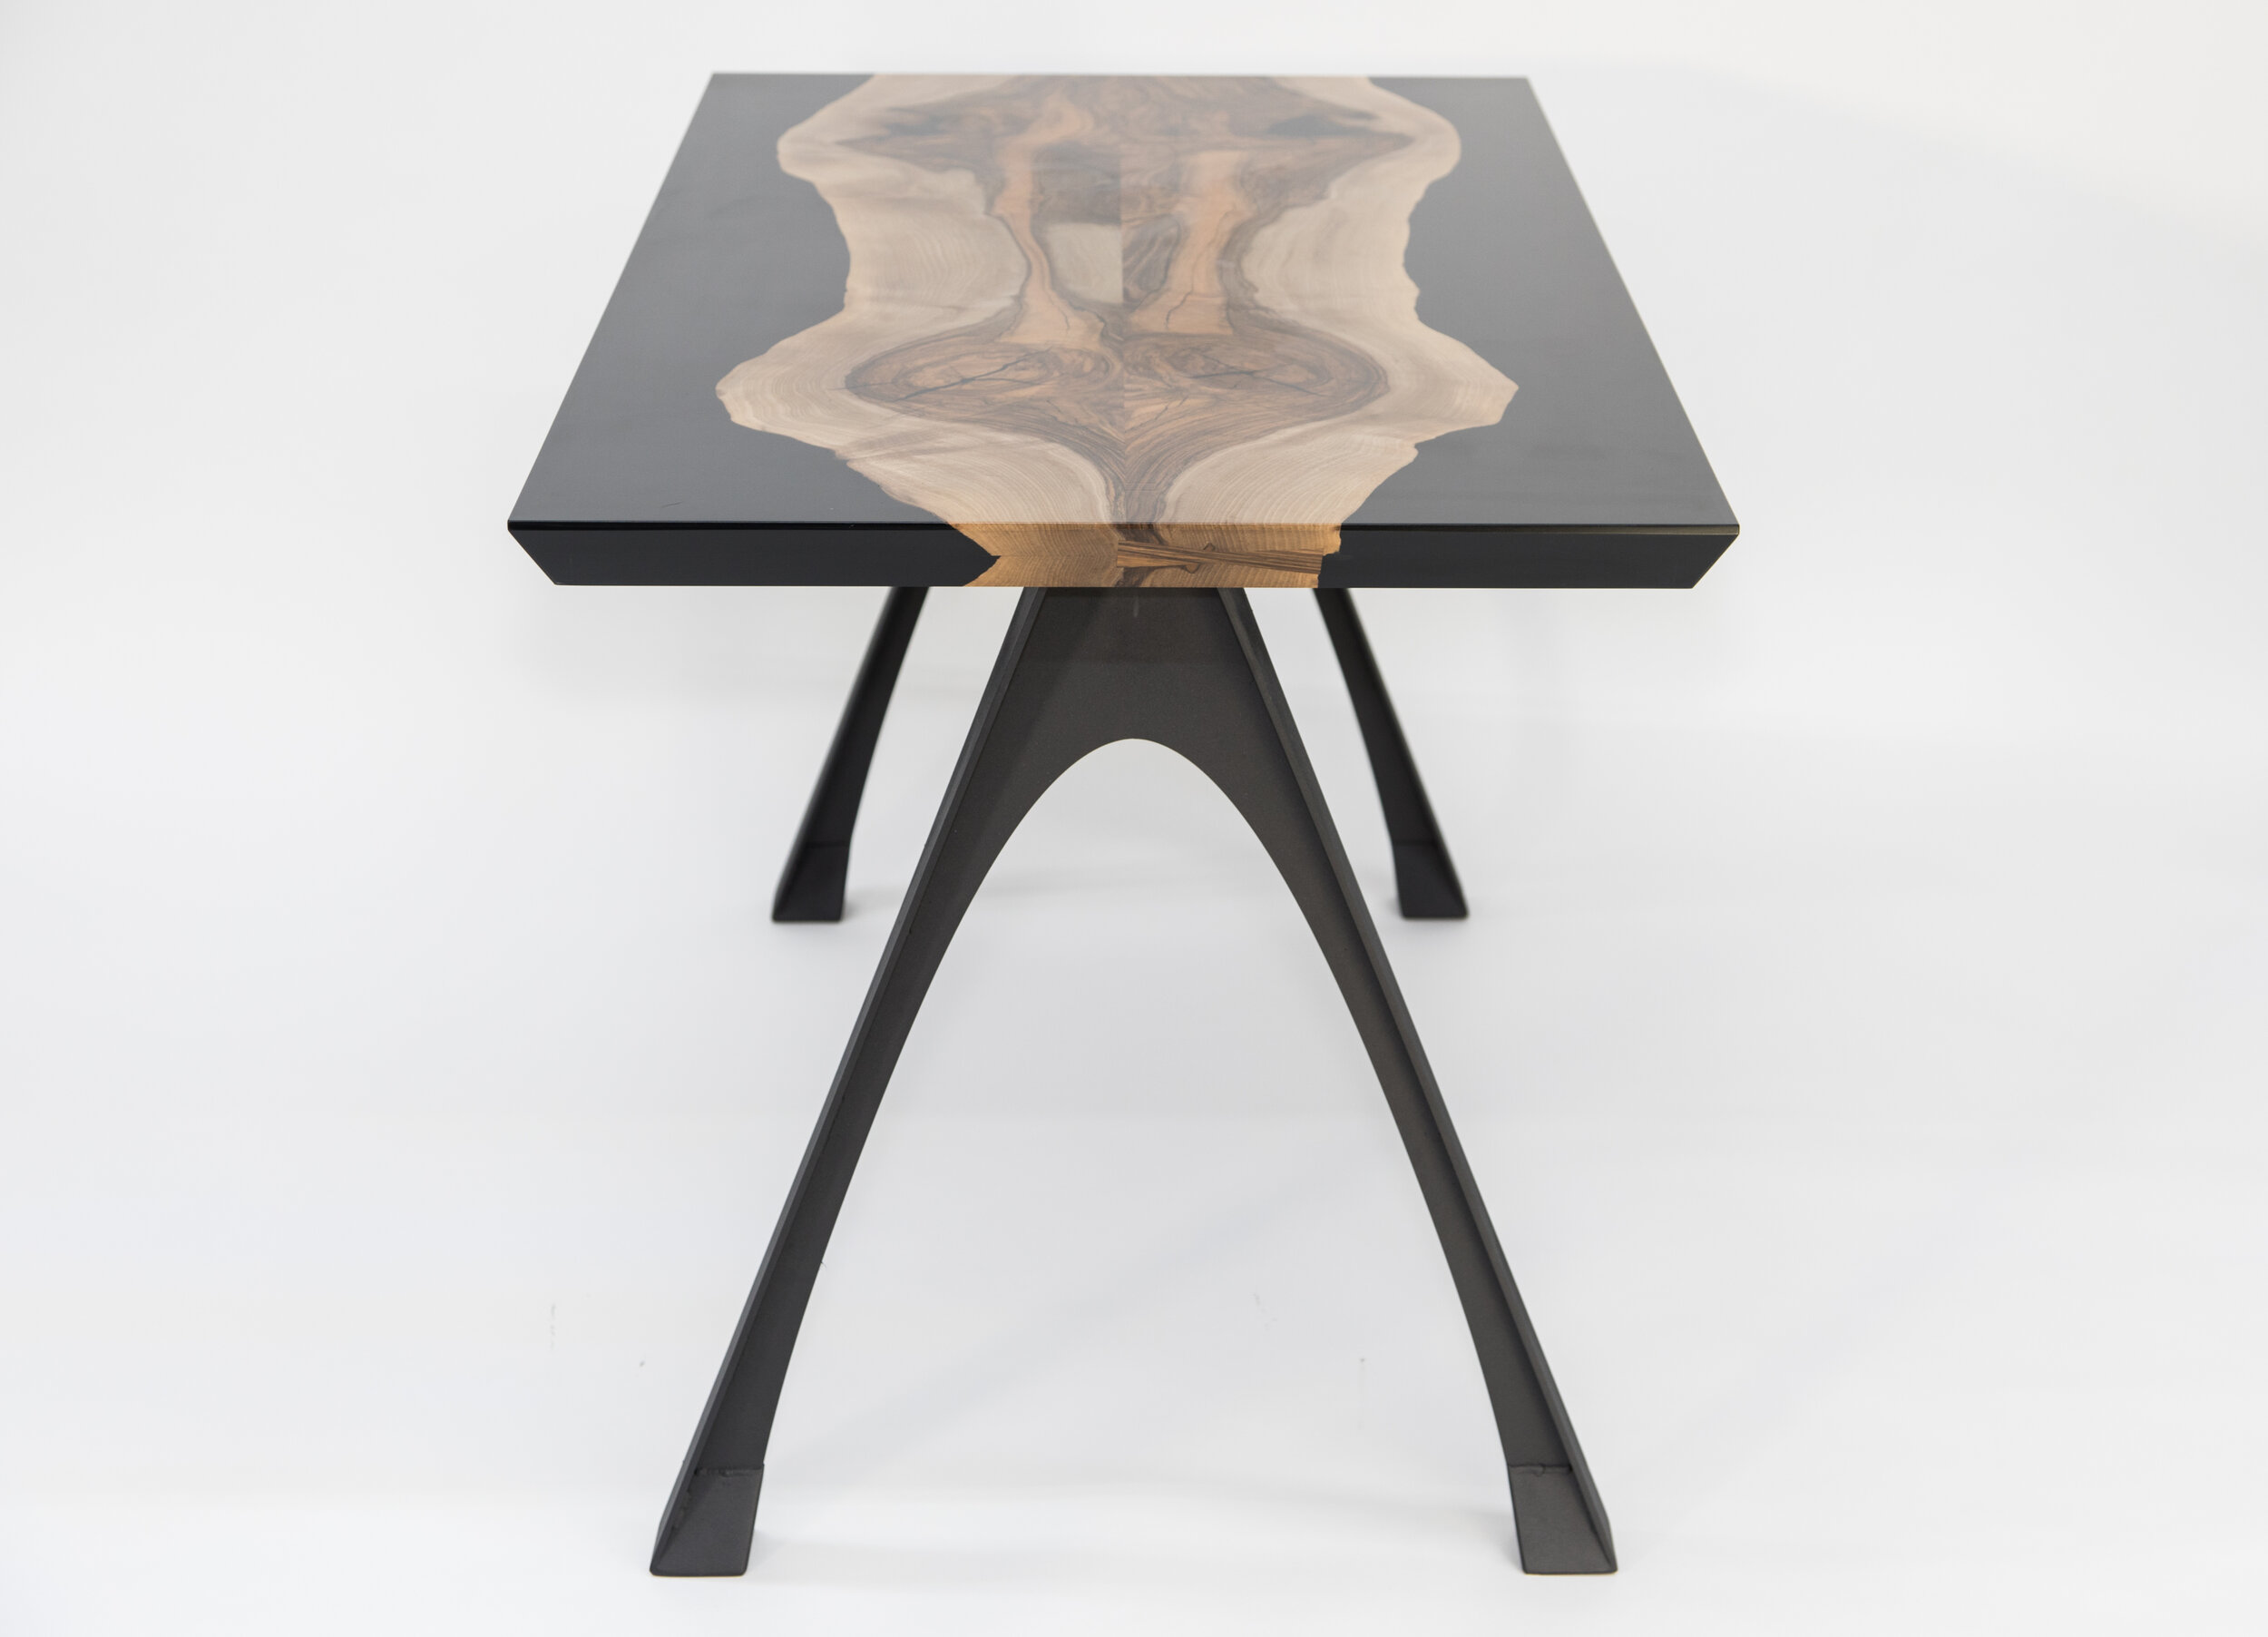
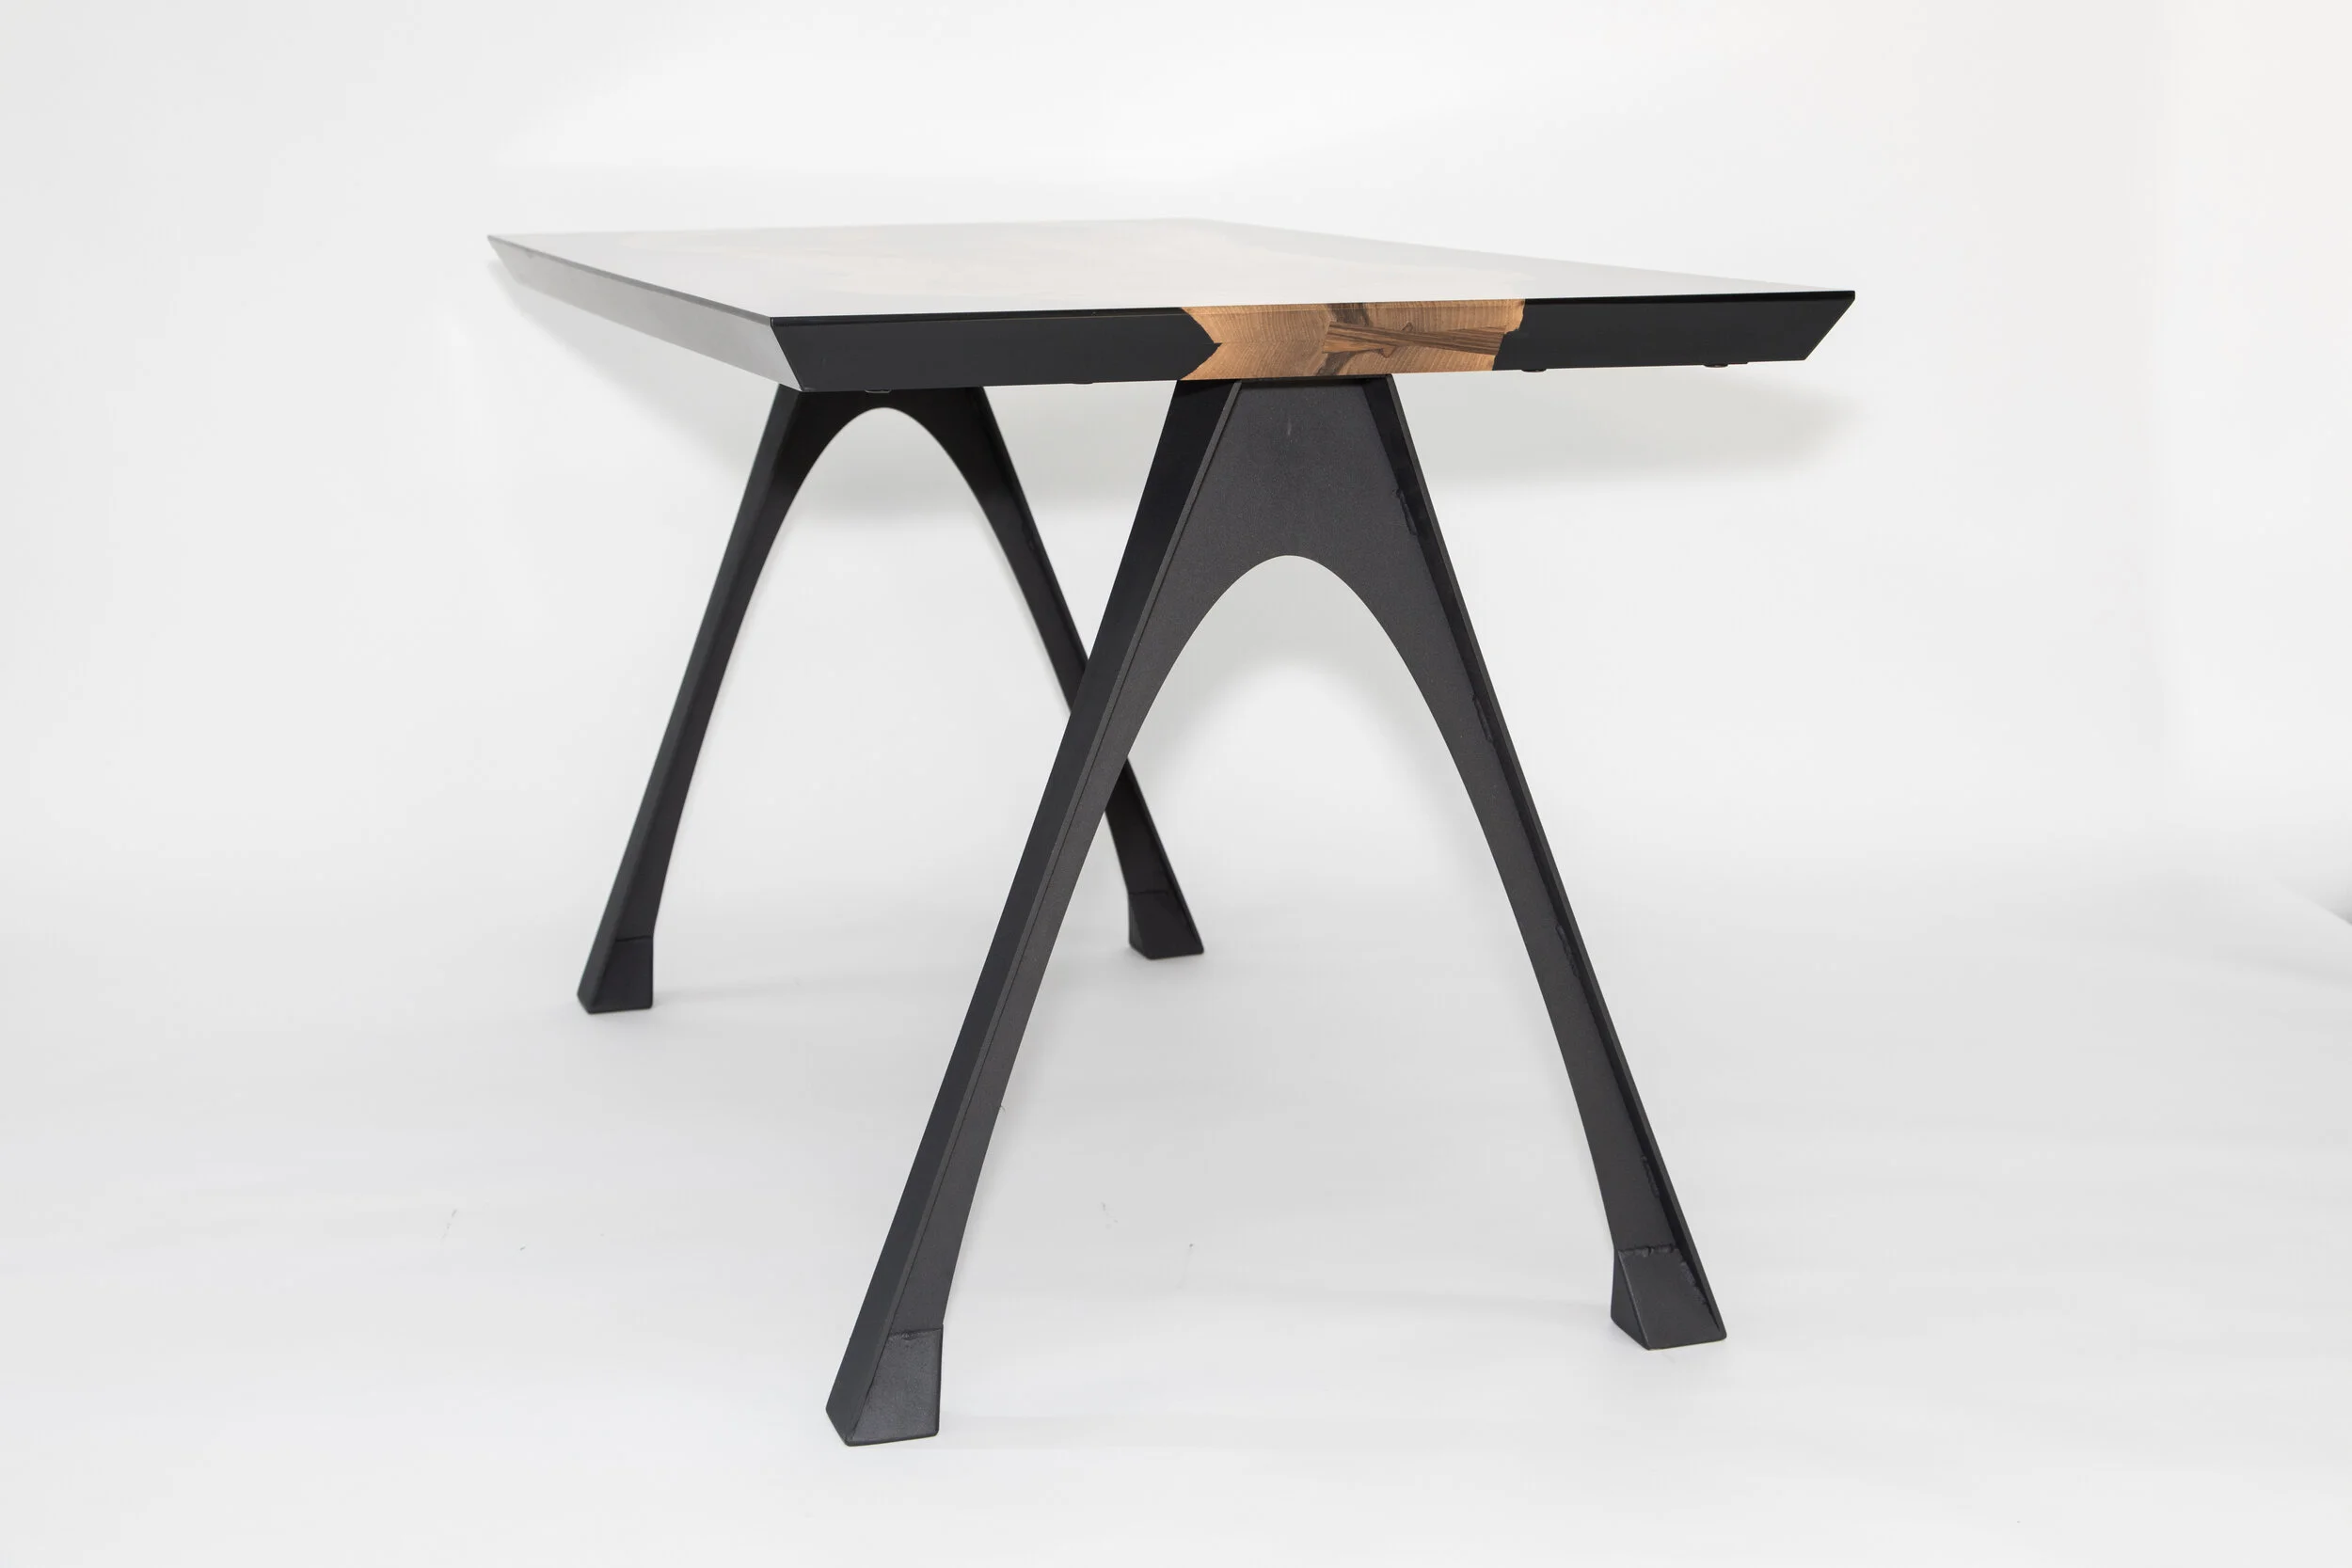
Epoxy on the outside, wood on the inside on this one.
I opted to use wood cast with epoxy on the outside for this project. Unlike traditional resin table with resin on the inside and wood on the outside. But there is no reason you couldn’t do the same trick with the wood on the outside.
When you double the thickness of epoxy, you will basically cut the transparency in half for that portion. So you need to use a solid color. I love black resin with walnut. So my choice was easy. However, If you want a transparent blue table, this trick probably wont be the solution you are looking for.
Prepare Your Wood
One cool aspect of this technique is that you can use an old off-cut piece of wood that might not have been used otherwise. I had a relatively small piece of gorgeous English Walnut left over from a previous build. So I opted to resaw the 2.75” chunk into a bookmatched pair of boards just over 1.25” thick.
How thick of a piece you need is largely up to you. We will be adding support to the underside of the table when it is finished. So I would say you could go as thin as 3/4” or so to start. Although I think just over 1” is about right.
Much of this process is going to be the exact same as a traditional epoxy table build. So feel free to check out my blog post or one of my Youtube videos on the process for even more details.
Pour your epoxy
This process is just like any epoxy table build. Prepare your slabs, build your mold, pour your epoxy. Ok, that might be a little of an oversimplification. Definitely check out one of my Youtube videos for more info on this portion.
Flatten your piece
After your piece cures, you’ll need to get it perfectly flat. You can do this with a planer, a CNC, or a router sled. Not to sound too repetitive, but I have a full blog post on this portion too. I promise I’ll get to the new content next. After its flat, go ahead and square it up. Don’t take too much off yet. Just want to remove the minimum to make it a rectangle.

Thin flat piece. Almost ready to cut the edges.
The Bull-Nose
Ok, now we’re to the new stuff. You should have a perfectly flat square or rectangle piece a couple inches bigger than you’d like your finished product to end up.
You can make your cuts with a circular saw or table saw. I used my Festool track saw for my cuts. Since I wanted my bull nose to be around 1.25” deep, I made my cut inside a line I marked at 1.25”. I cut both my long pieces first. Then cut my end pieces. It is important to cut the sides in an order that is consistent to keep all the pieces the correct length for when we glue them back on.
All edge pieces glued back on.
After you have your four thin strips, you are ready to glue them back on to double the profile. I used epoxy to glue the epoxy parts and wood glue to glue the wood parts. I also let my pieces overlap for now. A good tip is not to over-clamp when using epoxy. You can actually squeeze out the epoxy to the point there isn’t enough left to give a proper bond.
You’ll need to trim the end pieces to fit inside the pieces you just glued on. Take a little time here. This is where it is really important to get a tight fit. Once you have them trimmed just right, go ahead and glue them in place.
Let cure overnight.
Squaring up
After your new bull nose has cured, it’s time to square your table up. Again, I used my track saw for this step. If you don’t have a track saw (most people don’t) make sure you use a table saw or a circular saw and a good straight edge.
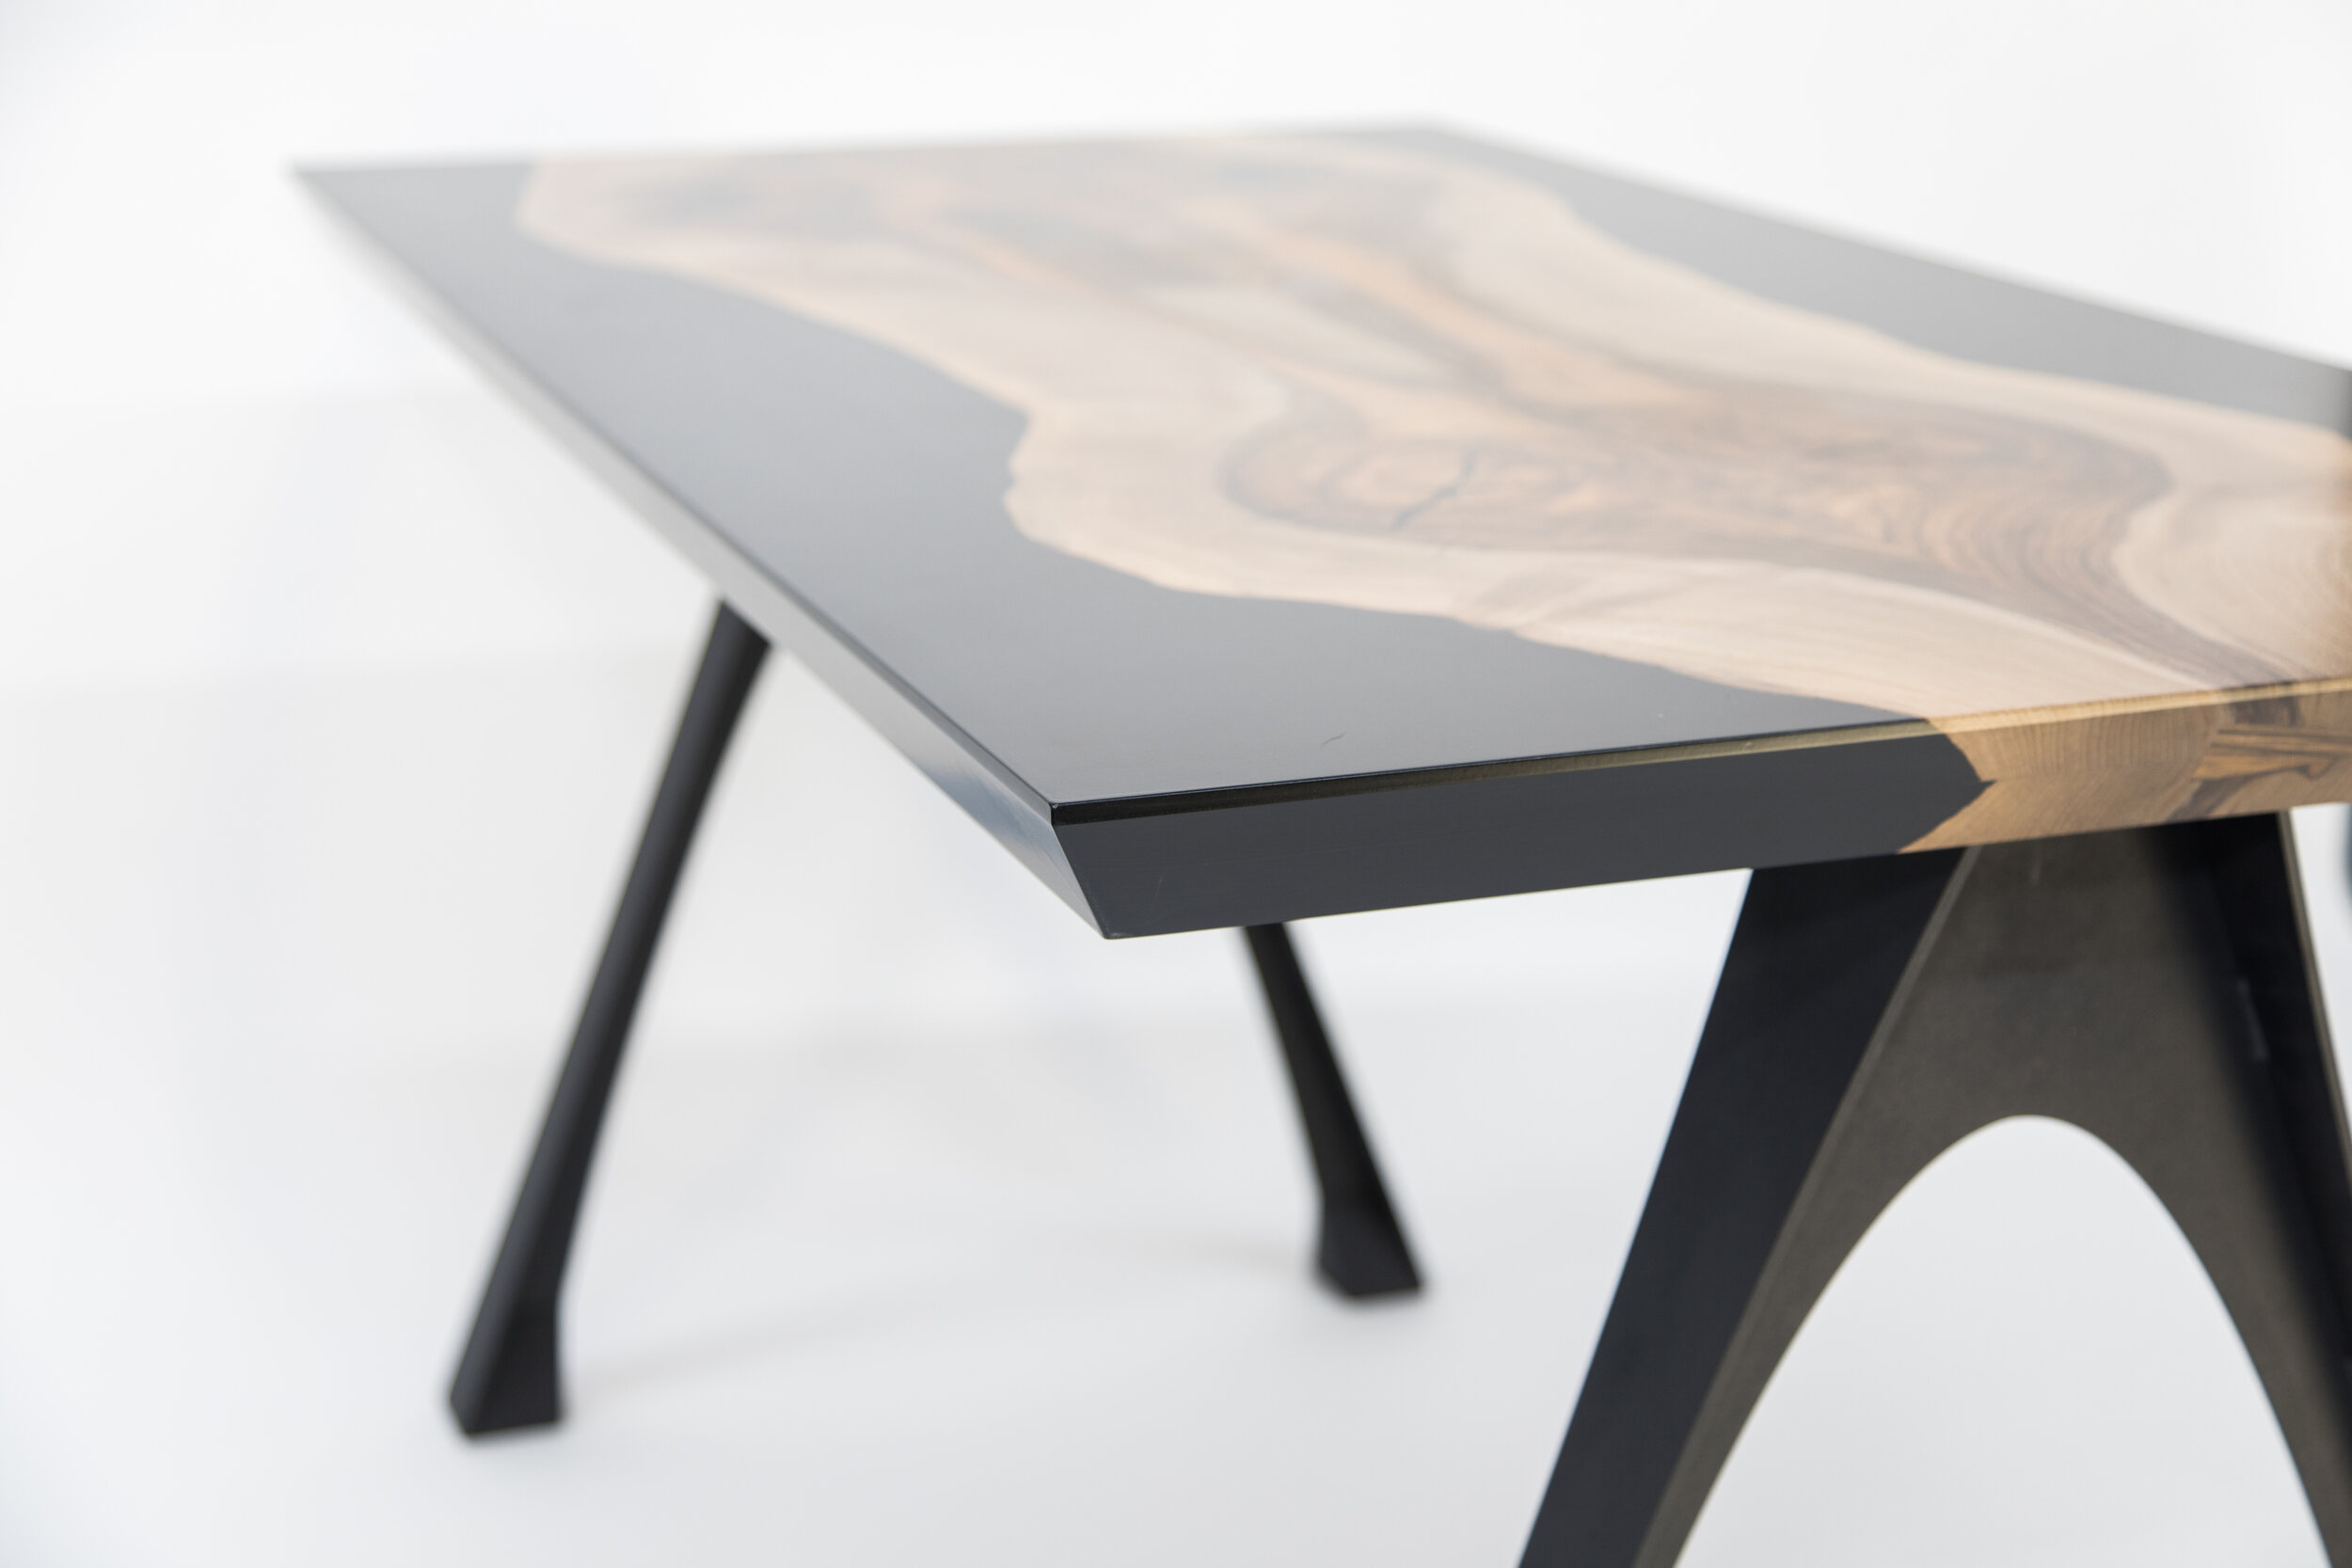
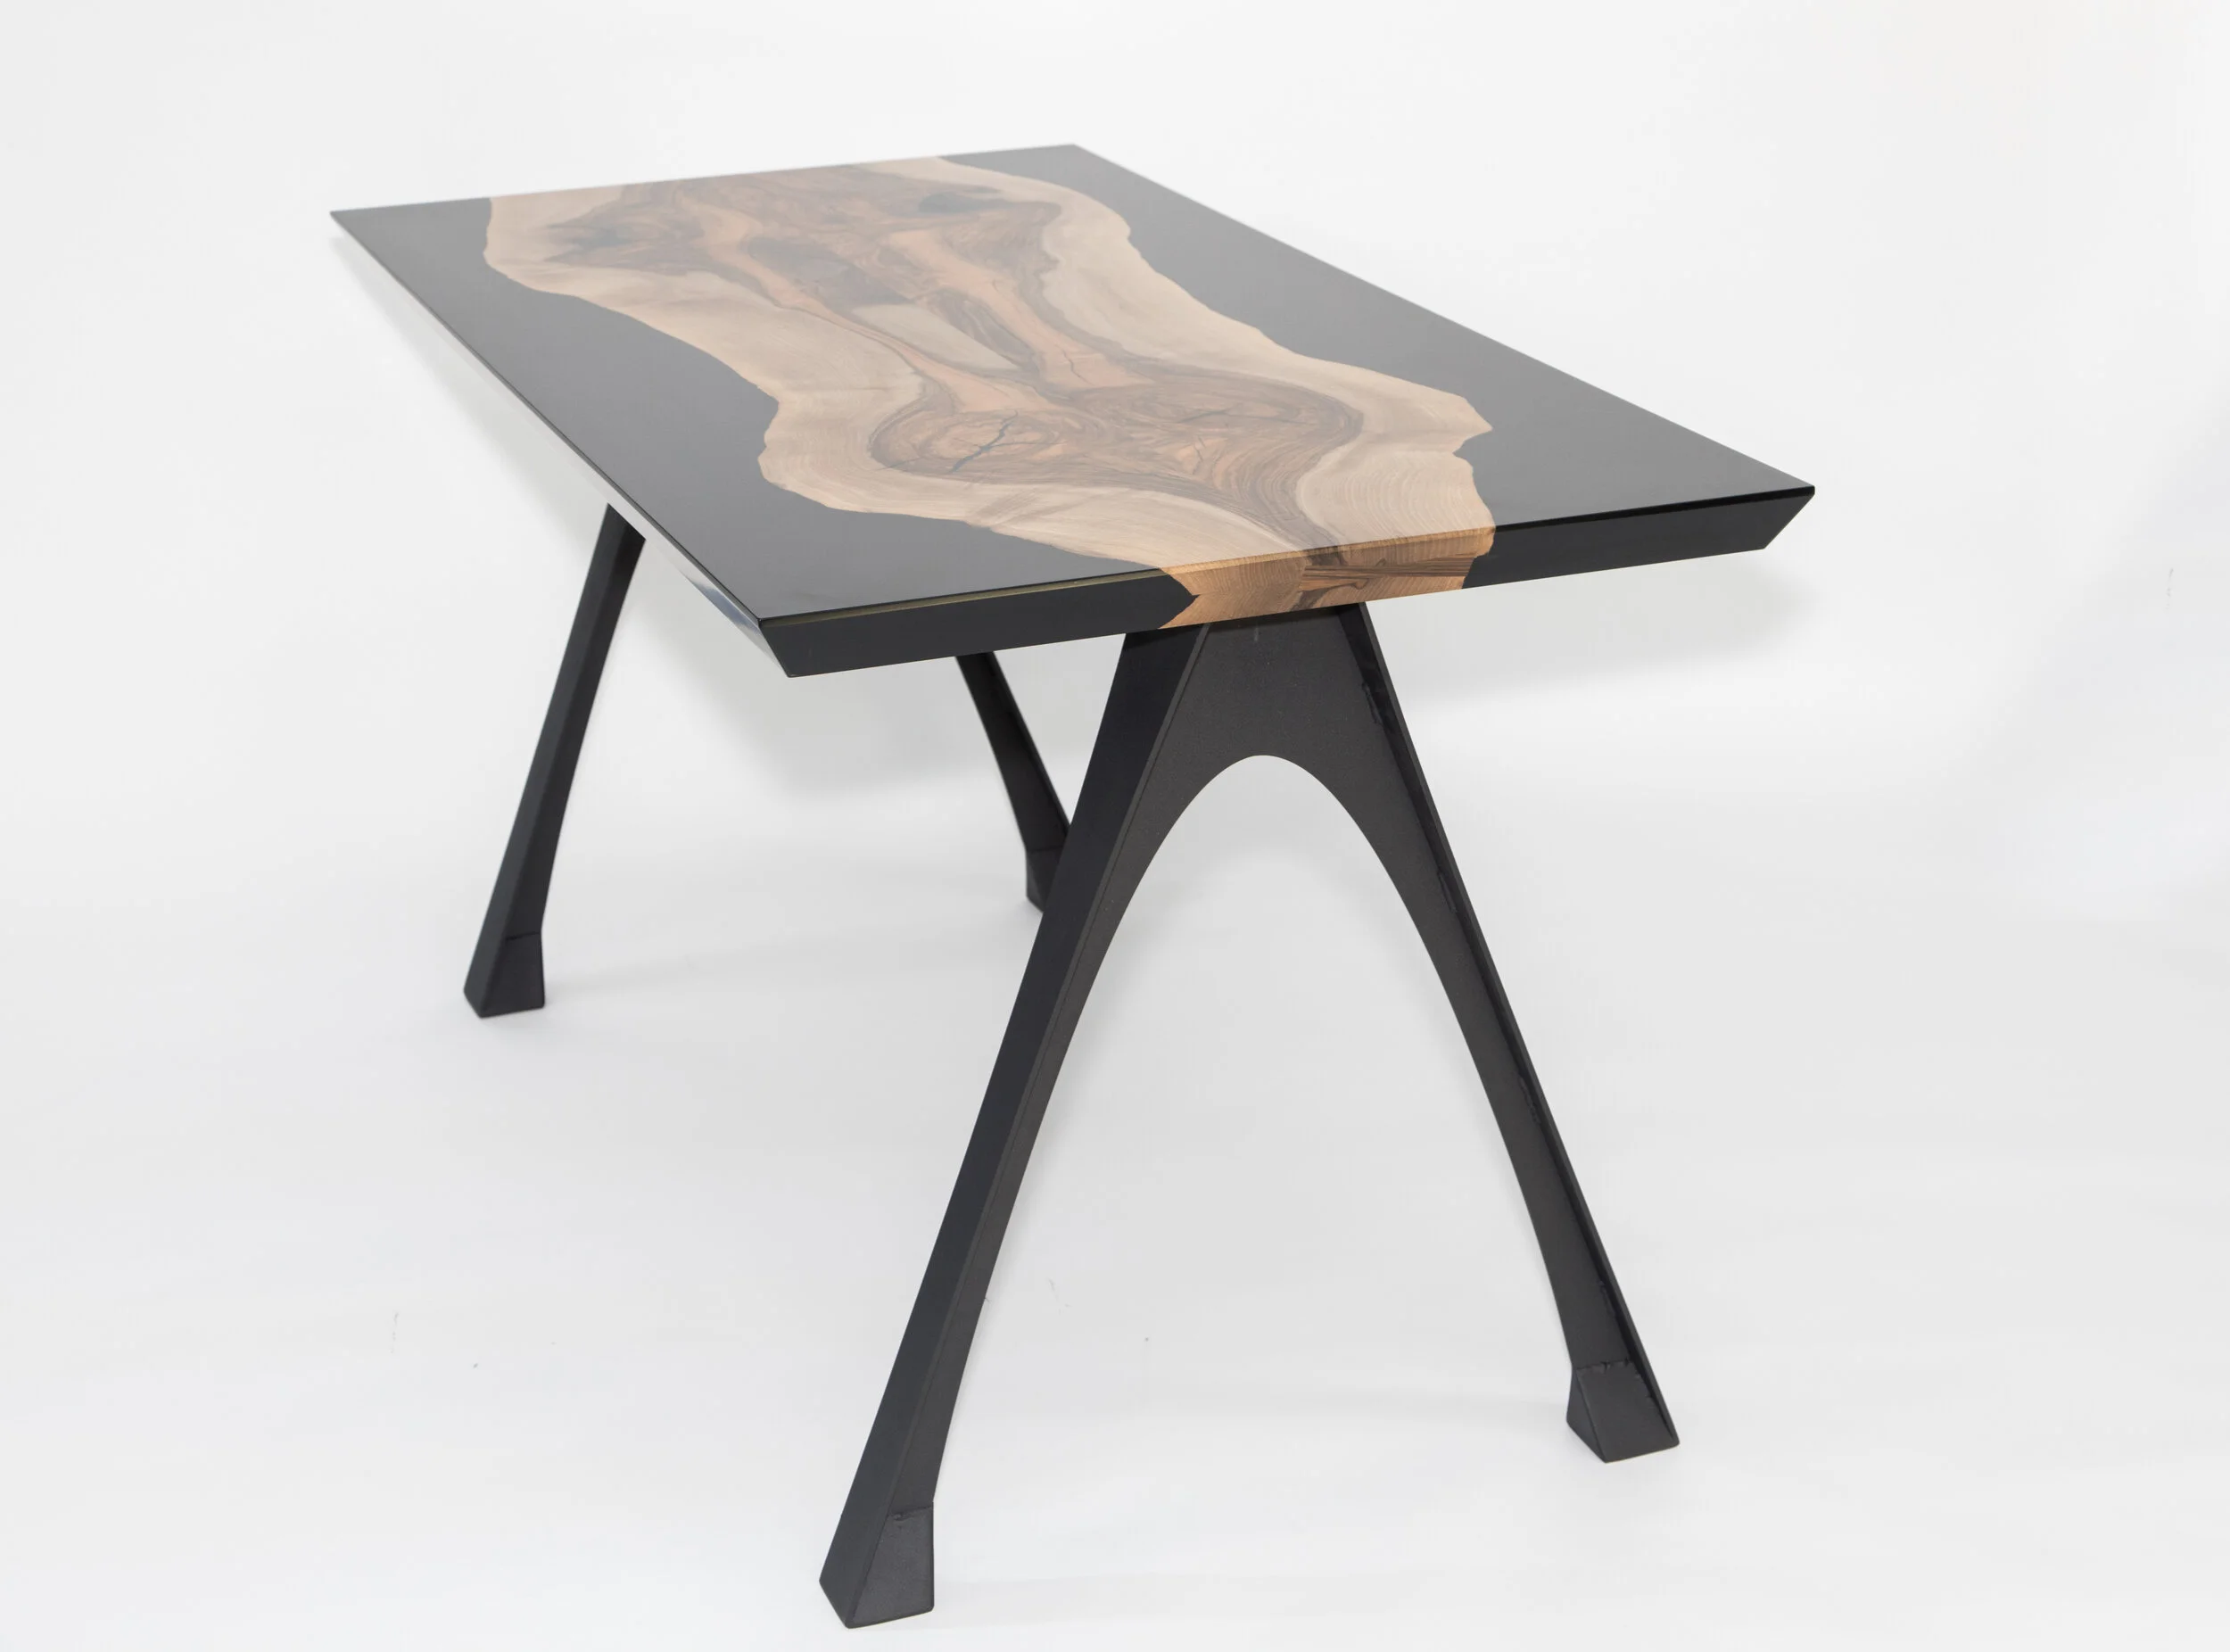
After your cuts you should have a nice rectangular table, twice the thickness you started with. I added a 30 degree chamfer to my table just for fun. So feel free to add any edge profile you normally would to a table.
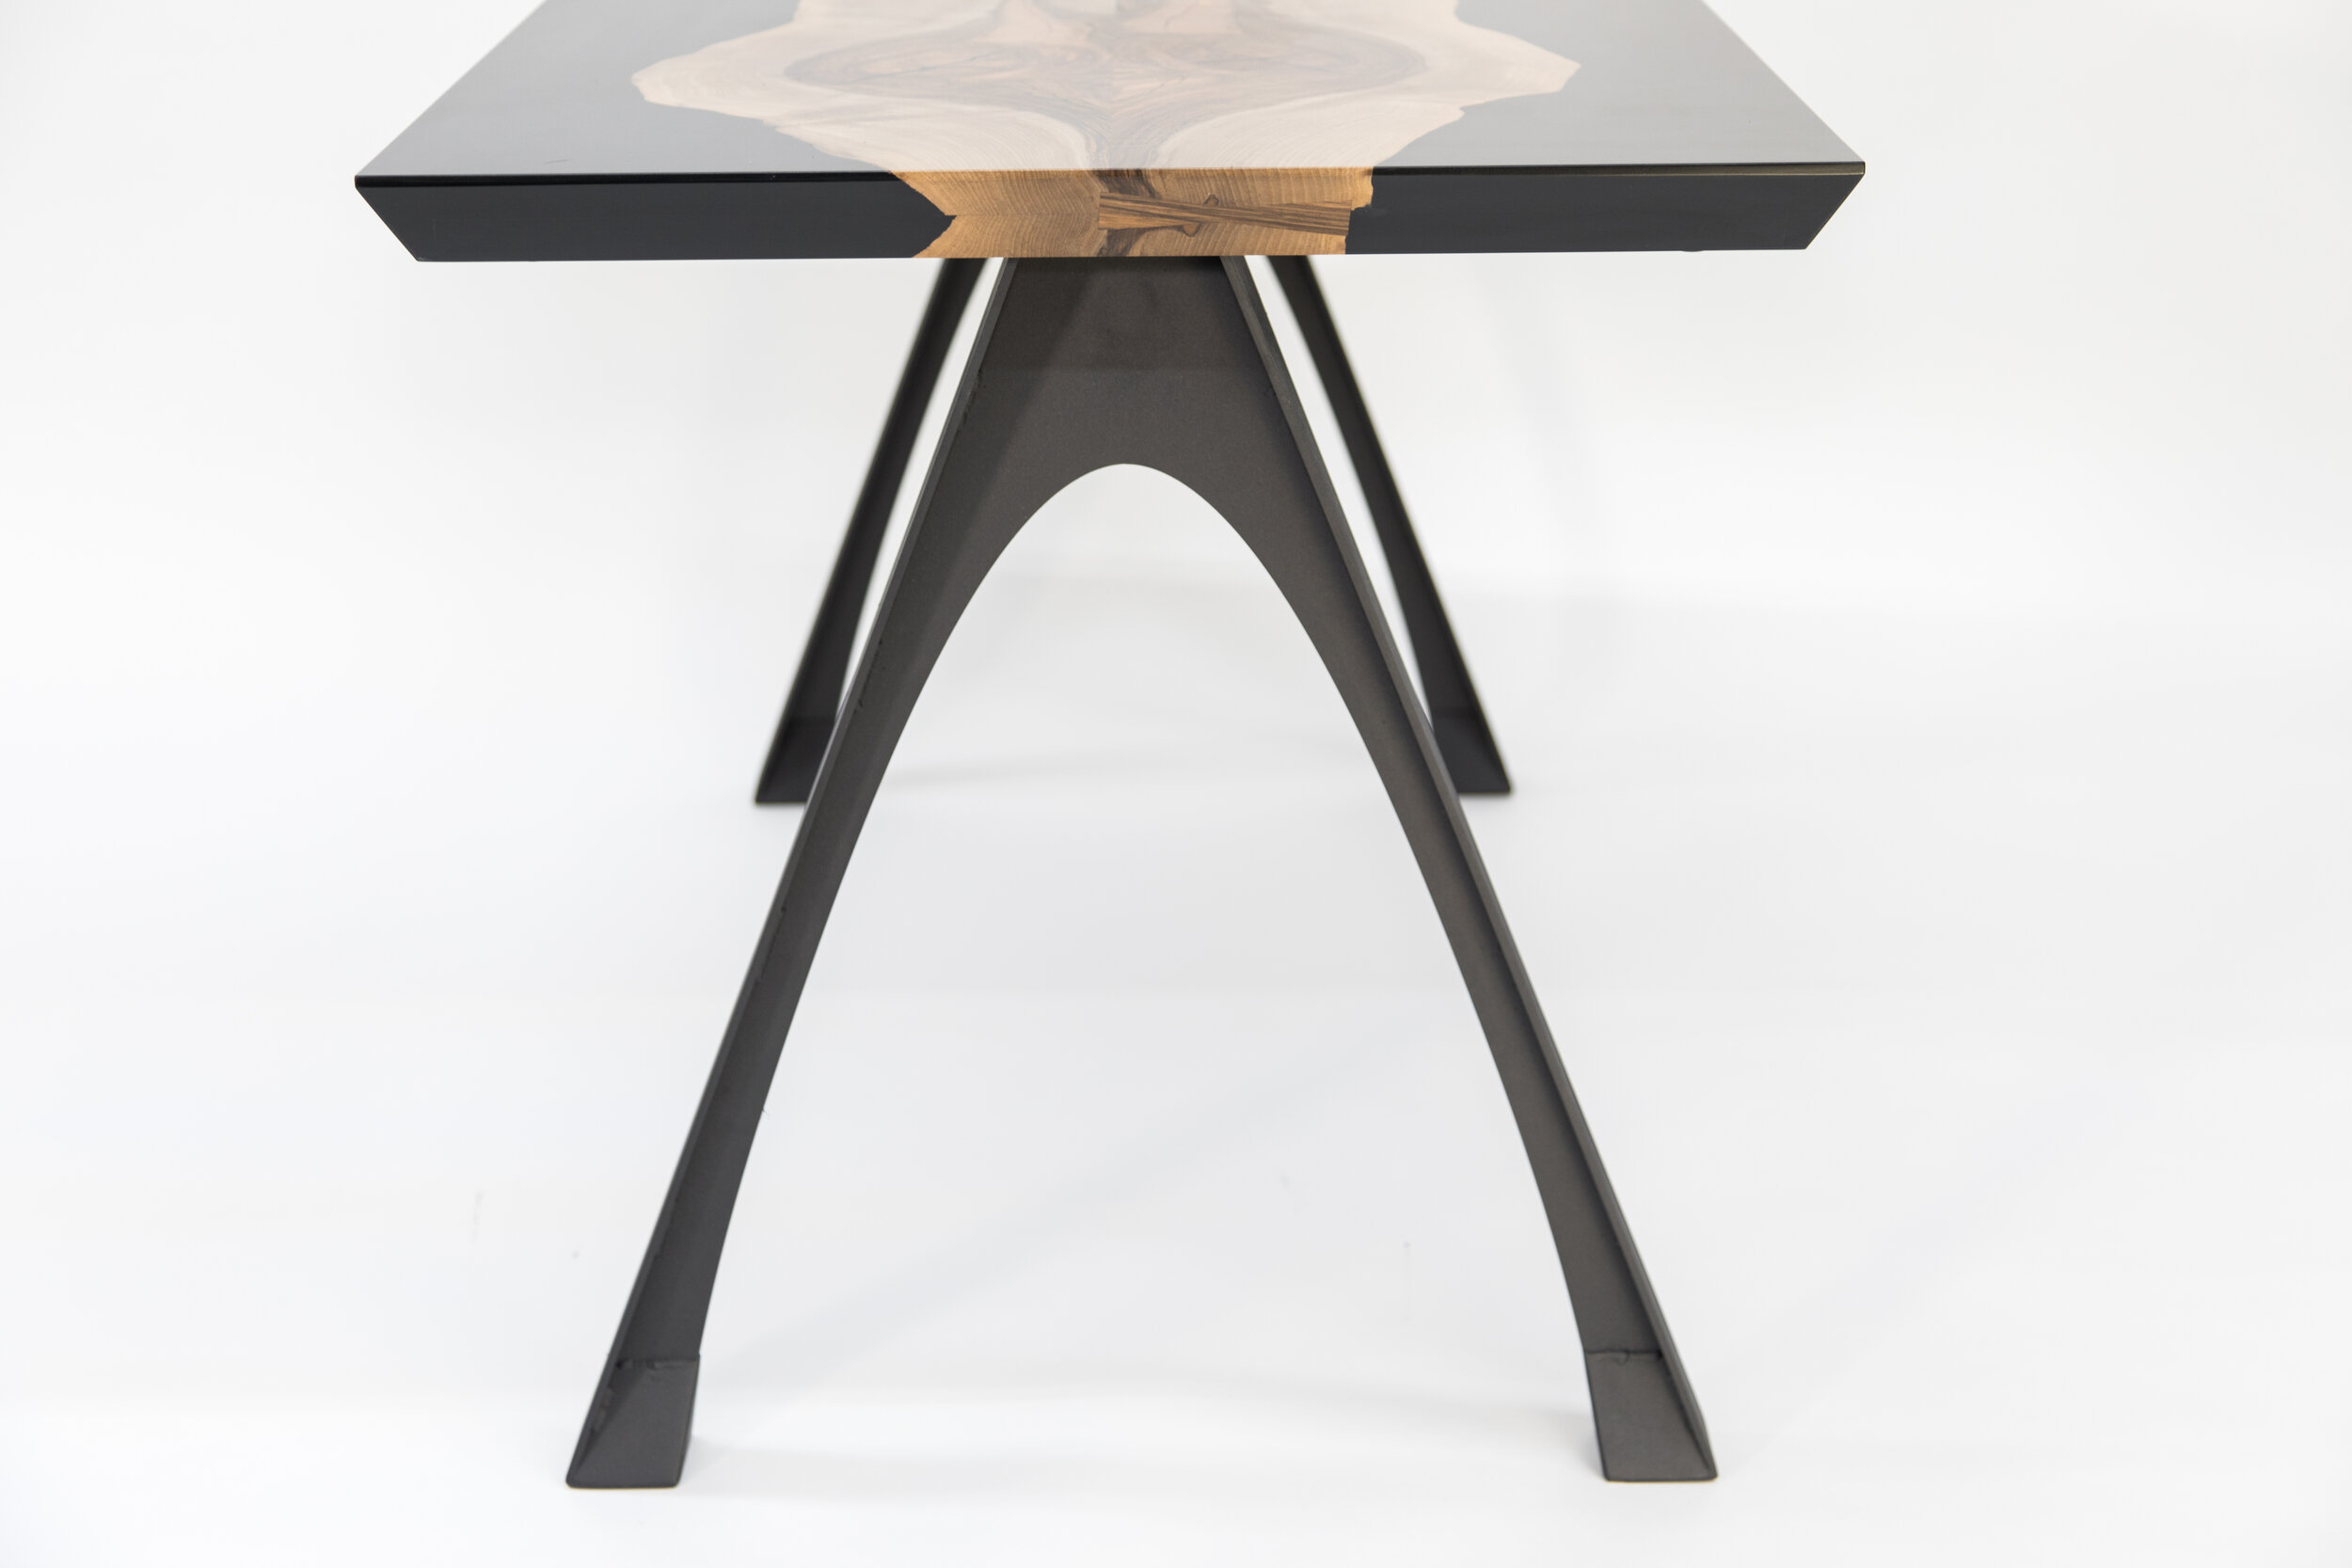
Additional support
Since the table is still relatively thin, I opted to add some additional support to the underside. I accomplished this by adding a sheet of hardwood plywood to the underside. I attached it with threaded inserts and low profile furniture bolts. Allowing for wood movement with slightly over-sized holes. The plywood also gave a good base to attach my steel table legs to. I again used threaded inserts in the plywood to attach the table legs to. I made sure to add glue to the inserts that went in the plywood. As it isn’t quite as substantial as normal solid wood.
Flip it back over and admire the table, and money you saved